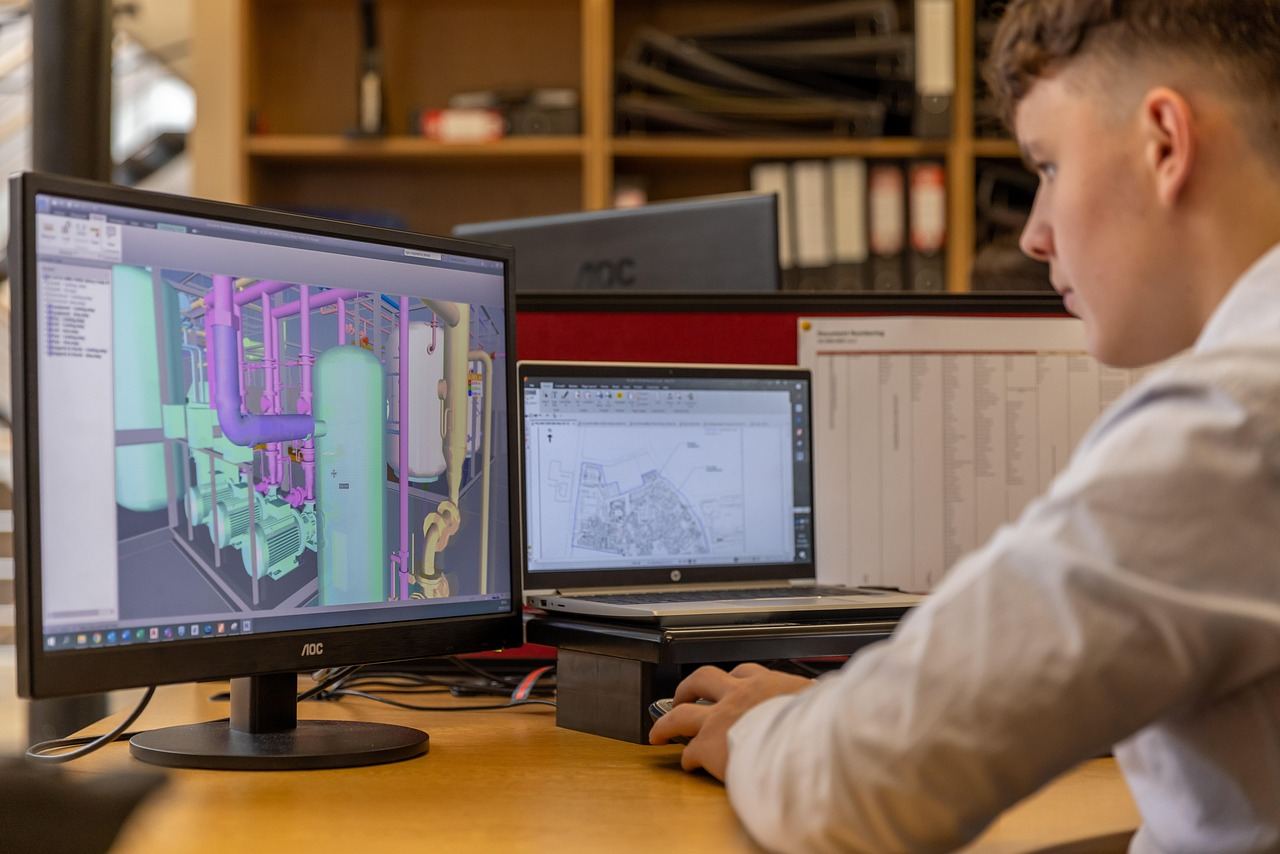
3D models are behind games, films, product design, architecture and engineering parts. Gergasi's 3D Studio is a modelling space that runs in the browser, with no installation and no powerful computer needed. It works the way Blender works: the same modes, the same keys for grab, rotate and scale, the same modifiers. A student who finishes the course can open Blender and feel at home. Models export as OBJ or glTF, and every export is checked in real Blender.
The five stages
Stage 1 - Getting around (lessons 1-3)
The screen and how to move the view; adding objects and moving, turning and sizing them with G, R and S, along an axis and by a typed amount; Edit Mode with vertices, edges and faces.
Stage 2 - Modelling (lessons 4-8)
Extrude and inset; loop cuts, edge slide, subdivide and the knife; bevels and detail; clean topology (when to delete and when to dissolve). Ends with case study 1: a desk lamp or a mug, modelled from reference pictures.
Stage 3 - Modifiers (lessons 9-12)
What "non-destructive" means. Mirror and Subdivision Surface; Array, Solidify, Bevel and Screw; Simple Deform, Displace, Smooth and other tools that bend and tidy a shape; working with many objects, joining, separating and parenting.
Stage 4 - How it looks (lessons 13-16)
Materials from plastic and rubber to metal and glass; textures and UV unwrapping; lights, cameras and rendering a picture. Ends with case study 2: the corner of a room with furniture, materials, light and a final render.
Stage 5 - Motion and delivery (lessons 17-20)
Keyframe animation and the timeline, rendered out to a video; hard-surface and game-ready models with a face budget; engineering parts at exact sizes, exported into Blender. Ends with the final project: your own asset from a brief, a game prop or an engineering part, presented to the class.
Learning tips
- Learn the keys early. G, R, S, then X, Y or Z to lock an axis, then type a number. Modellers who use the keys work several times faster than those who use menus.
- Start from a reference. Find two or three photos of the object from the front and side before you begin.
- Blocks first, detail last. Get the big shapes right with simple boxes and cylinders, then add bevels and small parts.
- Keep it non-destructive. Use Mirror and Subdivision Surface instead of modelling both sides by hand. You can still change your mind later.
In a live class
A teacher can open the 3D tab for the whole class. Each student works on their own scene, which saves by itself, and the teacher sees live thumbnails of every student's work and can open any of them to help. Students can also look at the teacher's scene while it is being built.